Popular Posts
-
 For those of you who know how to crochet, I decided to just post the pattern I made for the ear warmers that I make. I hope it is all clea...
 -
 Baby Bow Hat Tutorial I saw a picture of a hat similar to this on Pinterest that was knitted. I don't know how to knit, frankly,...
 -
 Jer and I are just bursting with excitement for our little angel to be born in just a few weeks! I had a maternity shoot a couple months ago...
 -
 Last week I had my second and final baby shower before our munchkin makes his debut. For those of you who are interested I'm 37 weeks 2 ...
 -
 This week I was lucky enough to get together with Phil Van Nostrand a family friend of 18 years (we just figured that out, crazy!) to take s...
Grab a Button!
Friday, August 23, 2013
My mom and sister threw baby Scotty and I the best baby shower last night! I feel so blessed to have so many people who love and care about Jer and I and our little bundle of joy coming very soon! I wanted to show off some of their awesome skill and give you some ideas if you ever want to throw an awesome baby shower of your own.
A lot of the decor my mom already had around the house, which was awesome. She found a lot of the little details on Etsy and Amazon and we also found several things at Michaels Crafts.


 We played two awesome games: Guess the name of the baby animal. i.e. Cat= kitten.


A lot of the decor my mom already had around the house, which was awesome. She found a lot of the little details on Etsy and Amazon and we also found several things at Michaels Crafts.

The food table, pre-food.

Detail.

The mantle complete with fishing net, shells, lantern.

Game prize basket.

A prize close-up. My mom got those cute tags on Etsy.

Entryway table with some pics from my recent shoot with Phil Van-Nostrand from Santa Barbara and advice cards for people to fill out as they walk in.

Some close-ups. (Sneak peek.)

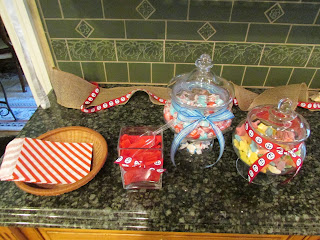
Candy jar bar. Swedish fish, starfish, and saltwater taffy. We got mini candy scoops on Amazon and the cute little bags on Etsy. The candy was from Robitaille in Carpinteria. This was the favor for people to take home.


Amazing cookies and cupcakes made by Nancy, someone from our church.

Another photo shoot photo bomb to show you the awesome banner my sister made. It says "Ahoy its a Boy". My mom got the PDF files on Etsy and they printed them, backed them and strung them with twine.

Close-up decor.

The party-throwers and I.

The spread.

Guests!


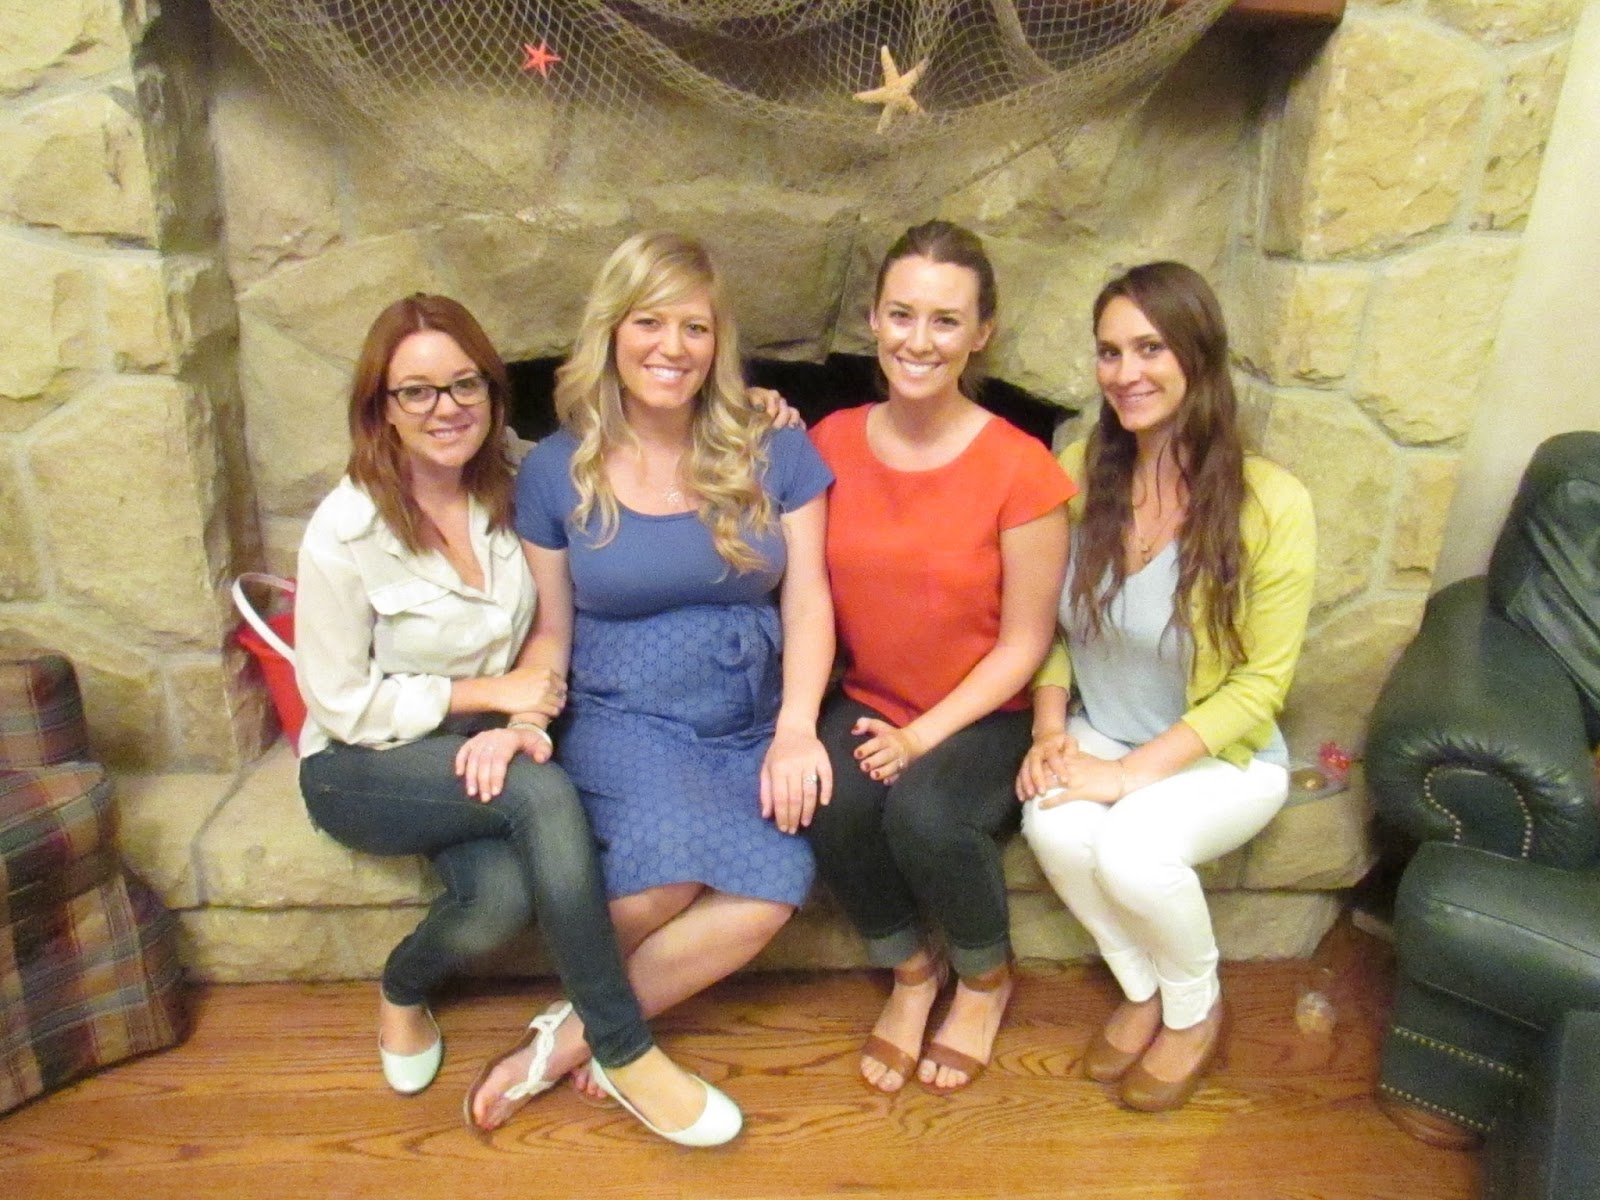


Chels and Belle drove 2.5 hours just to be at my shower! So Sweet!


And "My water broke!" where you get a plastic baby in an ice cube and you race to see who can get theirs out the fastest. They were so fun!

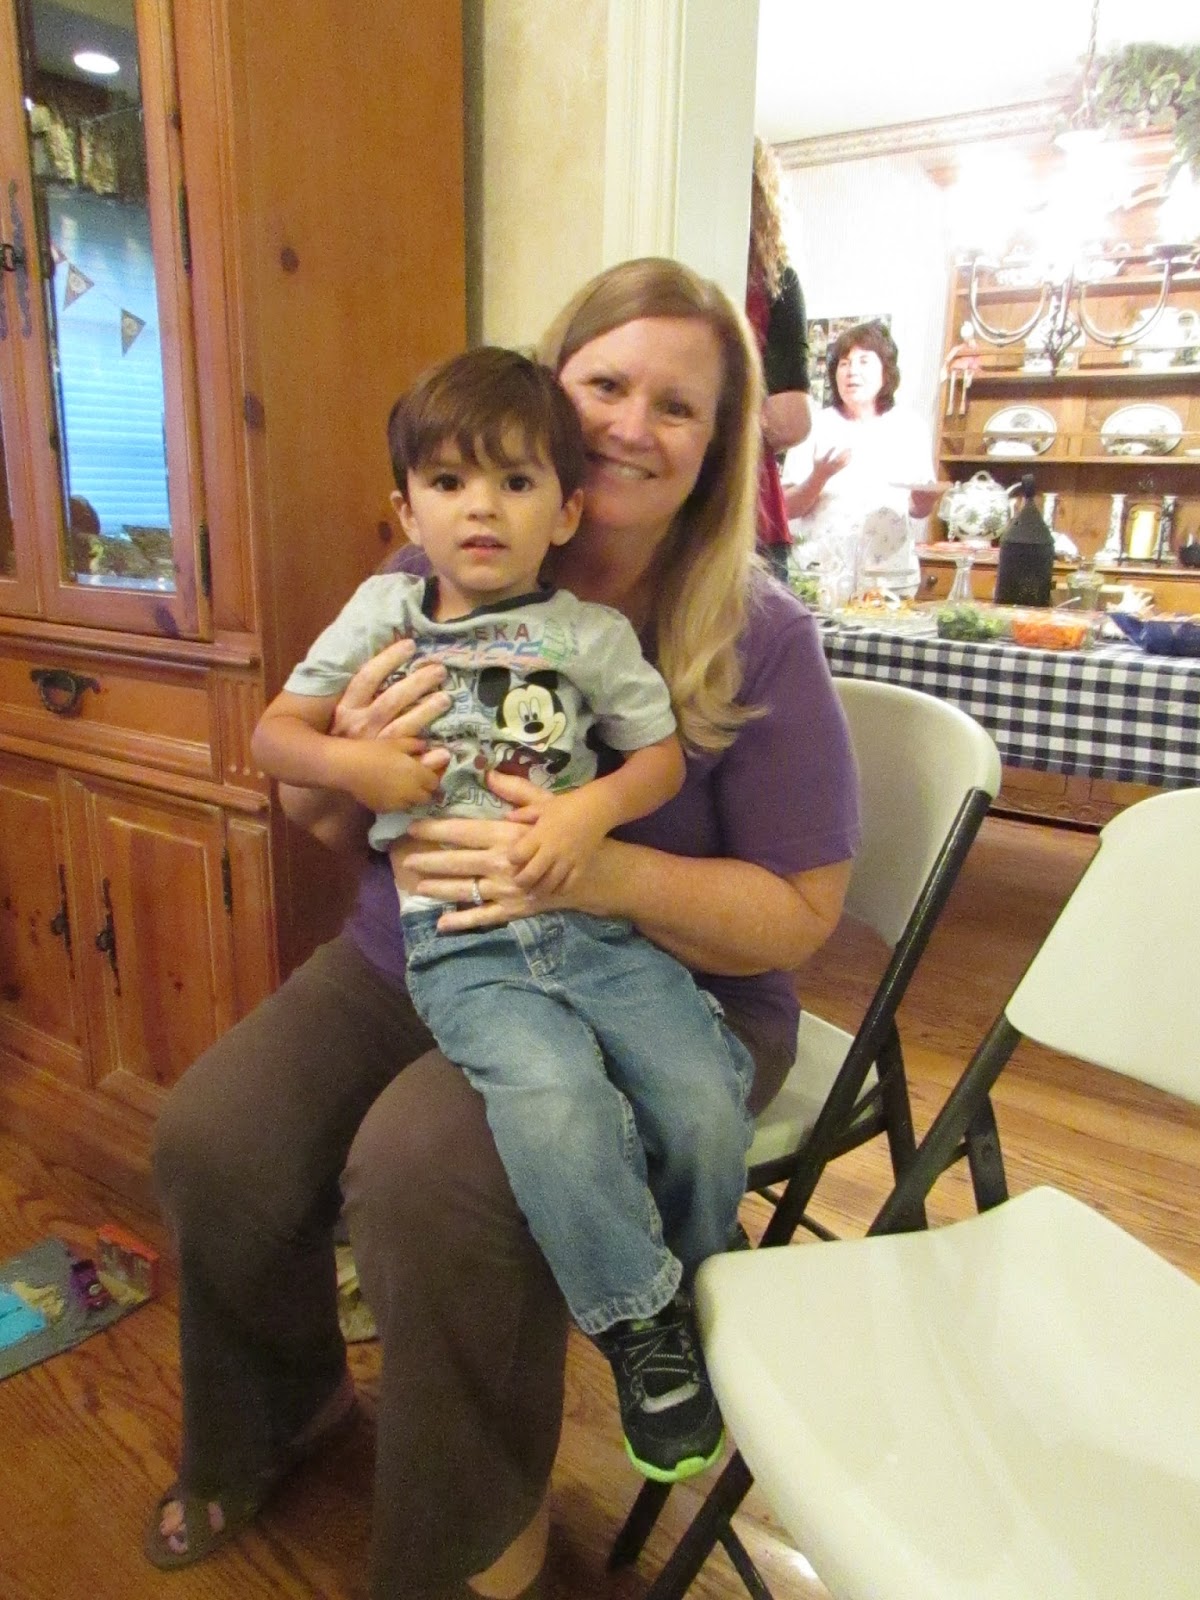
Opening gifts. There are a million like this so you get the idea :o).
We had a wonderful turnout with more than 30 guests there. It was so fun to see everyone and to catch up. There were lots of other guests not pictured here that I am so grateful came. It was such a wonderful time and I just didn't want the night to end! Thanks to everyone who came and participated. Can't wait for Scotty to get to know you and how much you love him already!
Thursday, August 22, 2013
I think we've all pinned things at one point or another and wondered, "Is this too good to be true?" So I have decided to share with you the worth-while pins that I have tried and felt like they really ARE as easy as they say they are. Aaaaaand for those pins that I have tried and felt were a waste of time (there are many) I will just leave out so as not to offend anyone. :o)
This week there are 3 pins that I wish to showcase:
First:

Chewy Chocolate Chunk Cookies

Our Version
The caption on this pin was "The BEST chocolate chip cookie recipe EVER." Naturally, I was skeptical and had to give it a try. They really did turn out nearly as beautiful as the picture and were just as tasty. Very great recipe.

(This is our finished product, couldn't get a picture from the actual tutorial.)
No-Sew Baby Bow Tie Tutorial
This project was super easy and turned out really cute and required no sewing which was actually really nice. We were able to use scraps that we just had on hand. My sister and I wanted to make some fun accessories for my little man that is on the way and this was the perfect, easy activity.
We even thought it would be really fun for a baby shower: have scraps of fabric and glue guns and let guests make their own gift for the baby boy!
*The only thing we adjusted was that we used clip on earrings glued to the back of the ties instead of velcro so you can just clip them on whatever the babe is wearing instead of having to have a specific onesie he wears them with. We just got the clips at Michaels and they worked like a charm.
And finally:
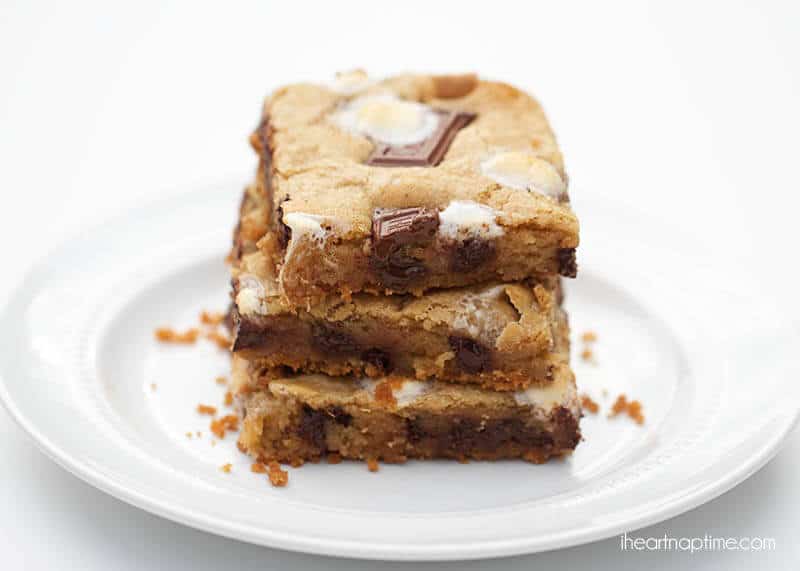
S'Mores Bars
These were easy and yummy and tasted better than s'mores. We didn't have Hershey's bars so we just used chocolate chips and they were still just as good. We halfed the recipe which made the bars a little thicker than in the picture. I think I would probably not half it next time so that the thickness would be correct.
Enjoy! And happy pinning!
This week there are 3 pins that I wish to showcase:
First:
Chewy Chocolate Chunk Cookies
Our Version
The caption on this pin was "The BEST chocolate chip cookie recipe EVER." Naturally, I was skeptical and had to give it a try. They really did turn out nearly as beautiful as the picture and were just as tasty. Very great recipe.
(This is our finished product, couldn't get a picture from the actual tutorial.)
No-Sew Baby Bow Tie Tutorial
This project was super easy and turned out really cute and required no sewing which was actually really nice. We were able to use scraps that we just had on hand. My sister and I wanted to make some fun accessories for my little man that is on the way and this was the perfect, easy activity.
We even thought it would be really fun for a baby shower: have scraps of fabric and glue guns and let guests make their own gift for the baby boy!
*The only thing we adjusted was that we used clip on earrings glued to the back of the ties instead of velcro so you can just clip them on whatever the babe is wearing instead of having to have a specific onesie he wears them with. We just got the clips at Michaels and they worked like a charm.
And finally:
S'Mores Bars
These were easy and yummy and tasted better than s'mores. We didn't have Hershey's bars so we just used chocolate chips and they were still just as good. We halfed the recipe which made the bars a little thicker than in the picture. I think I would probably not half it next time so that the thickness would be correct.
Enjoy! And happy pinning!
Monday, August 19, 2013

Baby Bow Hat Tutorial
I saw a picture of a hat similar to this on Pinterest that was knitted. I don't know how to knit, frankly, it confuses me. But I HAD to make this hat, so I decided to make up a pattern for it and thought i'd share. Enjoy!
Materials"
Med-weight yarn in two colors of choice. (I used "Vanna's Choice")
4.25 mm hook or size "G"
Yarn Needle
(This makes a size 6 mos.)
Start with a magic circle
Row 1: Ch 1, 9 sc in magic circle and join with a sl st
Work in back loops for next 7 rows.
Row2: Ch 3, dbl in same st, 2dbl in BACK LOOPS of each sc around, join with a sl st in 3rd ch.
Row 3: Ch 3, dbl in same st,* dbl in next st, 2 dbl in next st* repeat from * all the way around, join with sl st.
Row 4: Ch 3, dbl in same st, *dbl in next 2 st, 2 dbl in next st* repeat from * all the way around, join with sl st.
Row 5: Ch 3, dbl in same st, *dbl in next 3 st, 2 dbl in next st* repeat from * all the way around, join with sl st.
Rows 6-7: Ch3, dbl in same st and each stitch around, join with sl st. Tie off after row 7.
CHANGE COLORS
Row 8: Join new color with sl st. (Still working in back loops) Ch 3, dbl in same st and each st around. Join with a sl st.
Row 9: Work in BOTH loops, Ch 3, dbl in same st and each st around. Join with sl st. Tie off.
CHANGE BACK TO FIRST COLOR
Rows 10-12: Join new color with sl st, ch 1 and sc in ea st around. Join with sl st. Tie off after row 12.
For the Bow:
Row 1: Ch 24, join with sl st to make a circle.
Rows 2-6: Ch1, sc in each stitch around, join with sl st. Tie off.
Lay the circle flat so there are two layers on top of one another. Pinch right in the middle and tie a piece of yarn around pinched off section and tie a knot. Wrap yarn around 5-6 times and tie off in the back.
Take your yarn needle and sew the bow to the second color "band" on the hat making sure it lays flat. I like to only sew the back layer of the bow so it still has some shape. And voila! You have a darling winter hat for your baby.
Enjoy! :o)
I don't know if I've shared this recipe on the blog before but I feel like it merited another go if so.
This is a recipe from my Great Grandma Lytle, her food was second to none. Whenever people asked for her recipes she said, "Oh its just a little of this and a little of that." She was born in 1900 and lived through the depression so I don't doubt that she just made do with what she had most of the time. So we're lucky to have this recipe.
My dad uses this recipe when he cooks dutch oven, but it can easily be made in the oven and it is quite literally the best cobbler I've ever tasted. Maybe one of my favorite things to eat, ever.
Without further ado, I present to you:
Daisy's Deep Dish Pie
Serves 10
Batter:
¼ cup butter
1 cup sugar
Dash salt
1 ½ cups flour
2 tsp baking powder
1 cup milk
Fruit Mixture:
3 cups fruit, any kind (We use canned peaches and reserve the juice.)
2 cups juice from fruit
¼ cup butter, cut in small pieces
Mix batter—pour into 9x13 pan. Put fruit on top of
batter—dot with butter. On stove, heat juice to boiling. Pour hot juice
over fruit. Bake at 350 degrees for approx 1 hour. Serve hot with whipped
cream or ice cream on top.
*Note: If you use fresh peaches, reduce your juice by at least 1/2 cup. I just make a syrup with sugar and water and bring it to a boil on the stove for the "juice".
*Note: If you use fresh peaches, reduce your juice by at least 1/2 cup. I just make a syrup with sugar and water and bring it to a boil on the stove for the "juice".
I posted this during Christmas of 2012 and thought it would be fun to post on my craft blog!
My two friends in my ward and I got have been planning for a couple weeks now to do some long-overdue crafting. When we were finally done with finals we hit JoAnn's and crafted for a whole weekend pretty much.
 Here we are working on various crafts at Courtney's table. I fear we invaded her house with hot glue and fabric, poor Eric.
 This
is the wreath we made. Isn't it cute!? We bought various colors and
patterns of fabric, a wire wreath frame, cut the fabric into strips and
tied the strips onto the frame. I'm so excited to hang this next season~
This
is the wreath we made. Isn't it cute!? We bought various colors and
patterns of fabric, a wire wreath frame, cut the fabric into strips and
tied the strips onto the frame. I'm so excited to hang this next season~
 We
got some cute mini ornaments and glued them together into trees and
then tied some bows and glued them on. Court and Alison made three each
and I plan to make one more that is a little bigger. Another craft that
is still in the making are our blocks that we will be spelling santa
with a decorating with paper and embellishments. We had quite the
adventure at home depot getting the blocks cut! But we did it and were
very proud of ourselves. I think one of our most proud moments was
finding that we had saved $66.00 at JoAnn's and only spent $21.00 each
for all of our darling crafts!
We
got some cute mini ornaments and glued them together into trees and
then tied some bows and glued them on. Court and Alison made three each
and I plan to make one more that is a little bigger. Another craft that
is still in the making are our blocks that we will be spelling santa
with a decorating with paper and embellishments. We had quite the
adventure at home depot getting the blocks cut! But we did it and were
very proud of ourselves. I think one of our most proud moments was
finding that we had saved $66.00 at JoAnn's and only spent $21.00 each
for all of our darling crafts!
My two friends in my ward and I got have been planning for a couple weeks now to do some long-overdue crafting. When we were finally done with finals we hit JoAnn's and crafted for a whole weekend pretty much.


I created this scarf pattern the other day and actually really like it. I hope you all enjoy it and can use it!
If you want to see some of the other things I make and sell you can go to www.etsy.com/shop/flowersnfrills I plan on starting to sell more involved patterns later.
Alright, to start with, I use a size K hook or 6.5 mm. As for yarn, you can really use whichever brand and material you like but I prefer Vanna's choice or Loops and Threads Impeccable yarns, they are softer and you can usually get them on sale, however, they ARE acrylic and not wool. Your choice. But I would go with a 3-4 weight for scarves. I used a medium 4 weight for this particular one. You will need two contrasting colors.
Abbreviations:
ch: chain
hd: half-double crochet
sl: slip stitch
sc: single crochet
Here is the pattern. It is pretty simple:
ch 21 (or however wide you want your scarf)
Row 1: turn hd in third ch from hook and hd in each stitch across.
Row 2-10: ch 2, turn, hd in next stitch and each stitch across. Tie off
Row 11: With NEW color. Sl in first stitch, ch 2, hd in same stitch and each stitch across.
Row 12-13: ch 2, turn, hd in next stitch and each stitch across. Tie off.
Repeat rows 2-13 until you have 10 thin stripes and 11 wide stripes.
For edging:
starting at top right corner, sl stitch, ch 1, sc in same stitch and each stitch around entire scarf. (Make sure you only have as many sc as you do rows on the scarf. Don't get confused when you go down the sides. For example down the wide stripe you will have 10 sc and down the thin you will have 3.) Once you get back to where you started, sl in first sc and tie off.
Note: You will have a lot of tails since you tie off with each color change. I would recommend trying to work your tails in as you crochet rather than weaving them in later, it makes for a cleaner looking scarf and less work for you later.
To learn how to do each of these stitches, you can Youtube how-to videos and they are actually pretty easy to follow.
If you end up making this scarf I would love to hear some feedback on the ease or difficulty of the pattern and maybe even see some pictures of your end results!
So, if you know me at all, you know I love using coupons and saving
money. I was especially into it last summer and saved us hundreds of
dollars on our grocery bill using the Savvy Shopper and Krazy Coupon Lady
sites. I would highly recommend trying this out, especially if you are a
stay-at-home mom and would love to do your part to help out with
finances (or if you want a little extra shopping money ;o)).
My mom recently introduced me to two sites:
Cardpool
and
Raise
This has seriously been the best discovery for me and I'll tell you why: its taking my money saving to a whole new level. (Do I sound intense or what?)
OK so here's how it works. These two sites offer gift cards at a discounted rate. For instance, I bought a gift card to Michael's from Cardpool at 21% off for yarn for a baby blanket. I then got a 25% off total purchase coupon from Michaels (which includes sale items). So, assuming the yarn was already on sale, I have my 25% off coupon AND I bought a gift card for 21% off, that's 3x the savings!
Yesterday, Jer's Grandma Pendleton offered to buy us our travel system for little Scotty. What a sweetie! Well I had already picked out the one I wanted but I was bound and determined to get the best deal possible. With tax, this lovely lady retails for $257.00. So here's what I did:

1. I had a 15% total purchase coupon to Babies "R" Us so I knew I could get it for about $217 with that.
2. I found a $200 gift card on Raise at 5% off making it $190, I also had a coupon code for $5 off any gift card over $70 from Raise so I ended up paying $185 for a $200 gift card.
3. At checkout, I used the gift card and the coupon (I ended up paying tax on a different gift card) for a grand total of $51 savings!
That's a lot of leftover money for diapers we can now buy for little Scotty!
I am always getting those coupons in my e-mail for 15-20% off lots of different stores, and Cardpool and Raise have gift cards to most of them! Even at a 5% discount, you are still paying less than what its worth, and when you stack that with a coupon or a sale-or both!- you are saving triple what you would have.
*They also have gift cards to restaurants, clothing stores, movie theaters, etc. Check it out!
My mom recently introduced me to two sites:
Cardpool
and
Raise
This has seriously been the best discovery for me and I'll tell you why: its taking my money saving to a whole new level. (Do I sound intense or what?)
OK so here's how it works. These two sites offer gift cards at a discounted rate. For instance, I bought a gift card to Michael's from Cardpool at 21% off for yarn for a baby blanket. I then got a 25% off total purchase coupon from Michaels (which includes sale items). So, assuming the yarn was already on sale, I have my 25% off coupon AND I bought a gift card for 21% off, that's 3x the savings!
Yesterday, Jer's Grandma Pendleton offered to buy us our travel system for little Scotty. What a sweetie! Well I had already picked out the one I wanted but I was bound and determined to get the best deal possible. With tax, this lovely lady retails for $257.00. So here's what I did:
1. I had a 15% total purchase coupon to Babies "R" Us so I knew I could get it for about $217 with that.
2. I found a $200 gift card on Raise at 5% off making it $190, I also had a coupon code for $5 off any gift card over $70 from Raise so I ended up paying $185 for a $200 gift card.
3. At checkout, I used the gift card and the coupon (I ended up paying tax on a different gift card) for a grand total of $51 savings!
That's a lot of leftover money for diapers we can now buy for little Scotty!
I am always getting those coupons in my e-mail for 15-20% off lots of different stores, and Cardpool and Raise have gift cards to most of them! Even at a 5% discount, you are still paying less than what its worth, and when you stack that with a coupon or a sale-or both!- you are saving triple what you would have.
*They also have gift cards to restaurants, clothing stores, movie theaters, etc. Check it out!
Subscribe to:
Posts
(Atom)